
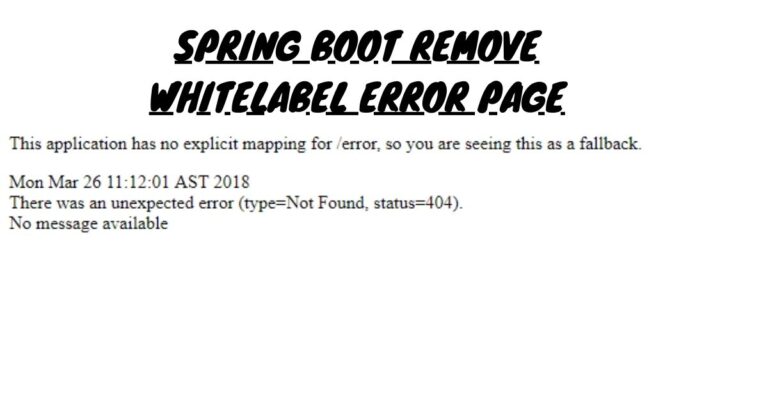
When developing a Spring Boot application, you may encounter the default “Whitelabel Error Page” when an error occurs. This generic error page is Spring Boot’s default behavior when no custom error handling is configured. While useful during development, the Whitelabel Error Page is not suitable for production applications, as it provides little information to end-users.Fortunately,
TRENDING
Demystifying 127.0.0.1:62893: Unraveling Networking Essentials
Spring Boot makes it easy to customize the error handling behavior and replace the Whitelabel Error Page with your own custom error page. In this article, we’ll explore several approaches to removing the Whitelabel Error Page and implementing a more user-friendly error handling solution.
Disabling the Whitelabel Error Page
The simplest way to remove the Whitelabel Error Page is to disable it entirely by setting the server.error.whitelabel.enabled property to false in your application’s application.properties or application.yml file:
server.error.whitelabel.enabled=false
With this property set, Spring Boot will no longer display the default Whitelabel Error Page when an error occurs. Instead, you’ll see a “404 Not Found” or “500 Internal Server Error” response, depending on the type of error.While this approach removes the Whitelabel Error Page, it doesn’t provide any custom error handling or user-friendly error messages. To improve the error handling experience, you’ll need to create a custom error page.
Creating a Custom Error Page
To create a custom error page, you’ll need to add a new HTML template file to the src/main/resources/templates directory of your Spring Boot project. This file will be used to render the error page when an exception occurs.Here’s an example of a simple custom error page:
html<!DOCTYPE html>
<html>
<head>
    <title>Error</title>
</head>
<body>
    <h1>Oops, something went wrong!</h1>
    <p>We're sorry, but an unexpected error has occurred. Please try again later.</p>
</body>
</html>
Save this file as error.html in the templates directory.Next, you’ll need to configure Spring Boot to use this custom error page. You can do this by adding the following properties to your application.properties or application.yml file:
spring.mvc.view.prefix=/templates/
spring.mvc.view.suffix=.html
These properties tell Spring Boot to look for HTML templates in the templates directory and use the .html file extension.With these changes, Spring Boot will now use your custom error.html template to render the error page instead of the default White’ label Error Page.
Customizing the Error Page
While the basic custom error page we created earlier is an improvement over the Whitelabel Error Page, you may want to add more detailed information or customize the appearance of the error page.One way to do this is to create a dedicated controller class to handle error handling. Here’s an example:
java@Controller
public class ErrorController implements org.springframework.boot.web.servlet.error.ErrorController {

    @RequestMapping("/error")
    public String handleError(HttpServletRequest request) {
        // Retrieve the error status code
        Integer statusCode = (Integer) request.getAttribute(RequestDispatcher.ERROR_STATUS_CODE);

        // Customize the error page based on the status code
        if (statusCode == HttpStatus.NOT_FOUND.value()) {
            return "error/404";
        } else if (statusCode == HttpStatus.INTERNAL_SERVER_ERROR.value()) {
            return "error/500";
        } else {
            return "error/generic";
        }
    }

    @Override
    public String getErrorPath() {
        return "/error";
    }
}
In this example, the ErrorController class implements the ErrorController interface provided by Spring Boot. The handleError method is responsible for determining the appropriate error page to display based on the HTTP status code.The controller maps the /error URL to the handleError method, which then selects the appropriate error page template (e.g., error/404.html, error/500.html, or error/generic.html) to render.You can customize the content and styling of these error page templates to match the branding and design of your application.
Handling Exceptions Globally
In addition to providing a custom error page, you may also want to handle exceptions globally and provide more detailed error information to the user.You can do this by creating a GlobalExceptionHandler class and annotating it with @ControllerAdvice. This class will intercept exceptions thrown by your application and handle them accordingly.Here’s an example:
java@ControllerAdvice
public class GlobalExceptionHandler {

    @ExceptionHandler(Exception.class)
    public String handleException(Exception ex, Model model) {
        // Log the exception
        logger.error("An unexpected error occurred: {}", ex.getMessage(), ex);

        // Add the exception message to the model
        model.addAttribute("errorMessage", "An unexpected error occurred. Please try again later.");

        // Return the custom error page
        return "error/generic";
    }
}
In this example, the GlobalExceptionHandler class intercepts all exceptions thrown by the application and logs the error message. It then adds the error message to the model, which can be displayed on the custom error page.By combining a custom error page with global exception handling, you can provide a more user-friendly and informative error handling experience for your Spring Boot application.
Conclusion
Removing the Spring Boot Whitelabel Error Page and implementing a custom error handling solution is an important step in creating a production-ready application. By following the approaches outlined in this article, you can disable the default Whitelabel E’rror Page, create a custom error’page, and handle exceptions globally to provide a better user experience.Remember, the specific implementation details may vary depending on the requirements of your application, but the general principles and techniques discussed here should provide a solid foundation for improving your Spring Boot application’s error handling capabilities.
ALSO READ: Openhouseperth.net Insurance