
Ideal Sandpaper Grit for Perfect Plastic Models
Sanding is often the unsung hero in the world best sandpaper grit for plastic model making. It’s a crucial step that can elevate your project from mediocre to magnificent. Whether you’re working on intricate details or prepping surfaces for painting, understanding how to effectively sand your models can make all the difference.
Imagine spending hours meticulously assembling pieces only to have rough edges or visible seams detract from your hard work. The right sanding technique not only enhances appearance but also ensures better paint adhesion and a smoother finish. This brings us to an essential question: what is the best sandpaper grit for plastic model making? Dive into this guide and discover how selecting the perfect grit will transform your modeling experience and result in stunning, flawless creations!
Understanding Sandpaper Grit and Its Uses
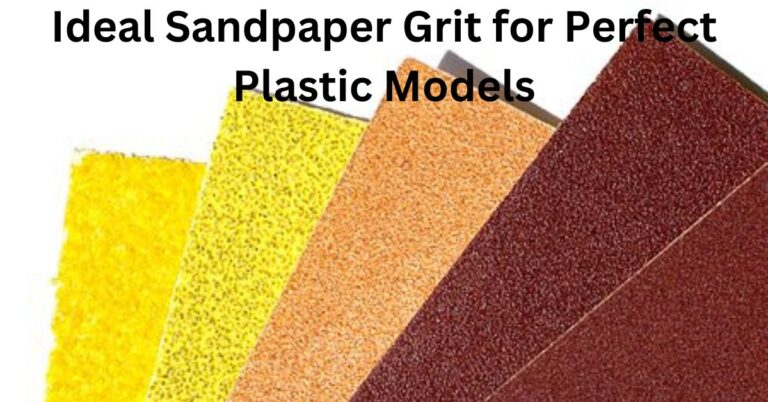
Sandpaper grit refers to the coarseness or fineness of the abrasive particles on a sandpaper grit sheet. It’s measured by numbers; lower numbers indicate coarser grits, while higher numbers represent finer textures. Understanding this scale is crucial for achieving optimal results in plastic model making.
Coarse grits, like 60 or 80, are excellent for heavy material removal and shaping rough edges. However, they can leave scratches that require further smoothing.
Medium grits, such as 120 to 220, serve well for refining surfaces after initial sanding. They help eliminate deeper scratches left by coarse paper without damaging your model’s finish.
Finer grits ranging from 320 to above are ideal for polishing and preparing surfaces before painting or applying finishes. Each stage plays an essential role in crafting a smooth and professional-looking model. Choosing the right grit ensures you get the best outcome without compromising detail.
Choosing the Right Grit for Your Plastic Model Project
Choosing the right grit is crucial for achieving a flawless finish on your plastic models. Start with coarser grits, like 120 or 220, to remove any major imperfections or seams. This sets the foundation for a smoother surface.
As you progress, shift to medium grits such as 320 and 400. These help refine the surface further without creating deep scratches. It’s essential to be gentle during this stage; too much pressure can damage delicate details.
For the final touches, fine grits ranging from 600 up to 2000 are ideal. They prepare your model for painting by ensuring an ultra-smooth finish that allows paint to adhere evenly.
Always remember: different plastics may require slight adjustments in grit choice. Test on scrap pieces if you’re uncertain about how your specific material responds to sanding.
Tips for Sanding Different Types of Plastic Materials
When sanding different types of plastic, it’s crucial to adapt your technique and tools. For styrene, which is common in model kits, start with a medium grit around 400. This helps remove imperfections without damaging the surface.
For softer plastics like polyethylene or polystyrene, use finer grits 800 or higher. These materials can scratch easily, so gentle pressure is key.
Acrylic models require special care as well. Begin with 600-grit sandpaper to smooth edges and transitions before progressing to an even finer grit for that crystal-clear finish.
Always remember to keep the sanding area clean. Dust can create scratches if reintroduced during the process.
Consider using wet sanding techniques on certain plastics too. Adding water not only minimizes dust but also reduces heat buildup, preventing warping and ensuring a smoother result at every step.
Common Mistakes to Avoid When Sanding Plastic Models
One of the biggest mistakes model makers make is using too coarse a grit from the start. This can lead to deep scratches that are hard to fix later on. Start with a finer grit for initial sanding, especially if you’re working on delicate details.
Neglecting proper technique is another pitfall. Sand in one direction rather than back and forth. This helps maintain uniformity and avoids uneven surfaces.
Many overlook how heat affects plastic. Applying excessive pressure while sanding generates friction, causing warping or melting. Let the sandpaper do the work without forcing it.
Always clean your model after sanding. Dust particles can cause flaws in paint application later on, ruining all your hard work before it even begins! Keep these tips in mind to enhance your modeling experience significantly.
Finishing Touches: Polishing and Buffing Techniques
Once your sanding is complete, it’s time to elevate your plastic model’s appearance. Polishing and buffing can transform a dull surface into a shiny masterpiece.
Start with a fine grit sandpaper, typically between 1000 and 2000. This smooths out any remaining imperfections without scratching the surface further. Wet sanding can be beneficial here; it helps reduce dust and heat while providing an even finish.
After sanding, apply a dedicated plastic polish or compound. Use a soft cloth or foam pad to work the product into the surface gently. Circular motions tend to yield better results than straight lines.
For final touches, utilize a microfiber cloth for buffing. This helps remove excess polish while enhancing that glossy sheen you desire. Regularly change sides of the cloth to avoid spreading any residue back onto your model.
Conclusion: Achieving a Smooth and Flawless Finish on Your Plastic Models
Achieving a smooth and flawless finish on your plastic models requires careful attention to detail during the sanding process. Selecting the best sandpaper grit for plastic model making is crucial in ensuring that every surface is prepared properly. Starting with coarser grits allows you to remove imperfections effectively, while gradually moving to finer grits helps create that perfect, polished look.
It’s essential to remember that each type of plastic may require different approaches when it comes to sanding techniques. Experimenting with various grits can lead you to discover what works best for your specific materials and projects.
Polishing and buffing are vital steps after sanding. These processes enhance the overall appearance of your model, giving it an eye-catching shine. By avoiding common mistakes like using too much pressure or skipping essential stages in preparation, you’re setting yourself up for success.
With patience and practice, you’ll be able to master the art of sanding, ultimately achieving stunning results in all your modeling endeavors. Whether you’re crafting intricate details or assembling larger pieces, proper sanding techniques will elevate your work from ordinary to extraordinary.