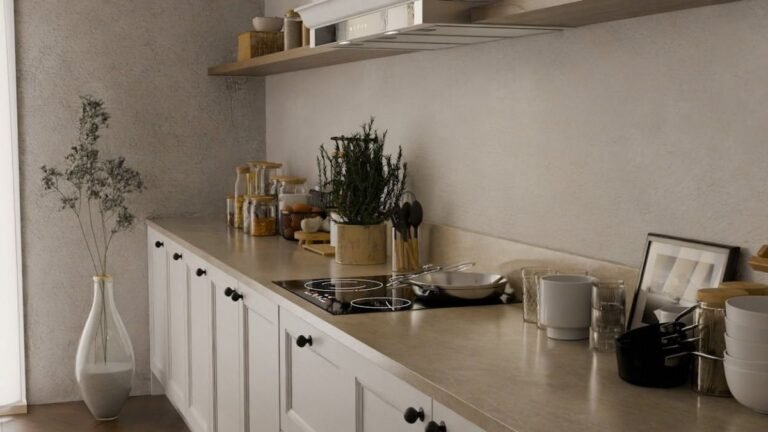
If you want to bring depth to your interiors and give a timeless look, limewash is a great option! It’s cloudy, and its matte texture adds a softness that you cannot get with standard wall paints. If you are updating an old space or creating a fresh yet rustic look, limewash can give your walls that earthy, lived-in feel. But this finish does not come from just brushing on a coat and calling it done. If you want to get it right, you need proper prep, the right tools, and a bit of technique. Here is how you can apply limewash paint for that signature textured, matte finish.
Prepare the Surface
Limewash works best on porous surfaces! This is the first thing to keep in mind. Plaster, stucco, brick, and untreated drywall- all take well to limewash. On the other hand, painted surfaces may need a little more preparation.
Start by cleaning your walls thoroughly. Remove dust, grease, or any residue that could interfere with adhesion. If there are holes, cracks, or rough patches, fill and sand them to get a smooth finish. Any imperfections left will be highlighted once the limewash is on, so take your time here.
Next, apply a mineral-based primer! This step is necessary for non-porous surfaces. The primer creates the ideal base for limewash to grip onto, particularly if your wall was previously painted with acrylic or oil-based paint. Most surfaces only need one coat of primer, but make sure it is fully dry before you move on.
Tape off the trim, baseboards, and ceilings if you are concerned about clean lines. Limewash does not behave like latex paint- it is thinner and less predictable. Hence, it can run if you are not careful during the application.
Apply with the Right Tools and Technique
Once the surface is ready, it is time to mix and apply your limewash. Always follow the product’s specific dilution instructions. In most cases, premium limewash paint is concentrated and needs to be mixed with water to the right consistency. Do keep in mind that you need a runny texture- not too thick, not too watery.
Use a large, natural bristle block brush for application! This is necessary as a roller will not give you the signature movement and cloud-like texture that limewash is known for. The brush should be wide enough for your space but not so big that it is hard to control, particularly in corners and edges.
The application technique is just as important as the tools. Use random, crisscross brush strokes to create a layered, organic finish. The idea is to build texture and subtle variation, and not a uniform coat. Work in small sections and maintain a wet edge to avoid harsh overlap lines. Stir the paint now and then during use, as the natural pigments and minerals tend to settle quickly.
Let the first coat dry for about 24 hours. If it looks patchy or uneven at this stage, do not worry- that is normal. The following coats will smooth out the overall look and add more depth.
For the second coat, repeat the same technique and brush pattern. If you are applying a third coat, this is when a densifier can be added, depending on the product you are using. A common ratio is four parts limewash to one part densifier. This will strengthen the finish and also help protect it over time.
Optional Protection: Sealer or No Sealer?
Once your final coat has dried, you can decide whether to seal the finish. This step is completely optional, but it is worth considering based on where you are applying the paint.
For instance, in high-traffic areas or rooms prone to moisture like bathrooms or kitchens, applying a sealer will make the surface more durable and wipeable. However, keep in mind that sealers will slightly change the color and finish. While limewash is naturally matte and chalky, sealing may introduce a mild sheen and darken the tone, too.
Before applying, test the sealer on a small, hidden section of the wall. This gives you a clear idea of how it will affect the look. If the matte texture is something you do not want to compromise, it may be better to skip the sealer, especially in low-contact areas like bedrooms or decorative spaces.
If you do choose to seal, use the same brush and stroke pattern to maintain consistency. Apply the sealer only after the limewash has fully cured and the densifier -if used- is dry.
Final Thoughts
Applying limewash paint is not too complicated, but it is definitely a process that rewards attention to detail. From preparing the surface and using the right tools to mastering the brush technique and knowing when to seal- it all comes together to create that iconic textured, matte finish you want. That said, take your time to follow each step with care. This way, the result will be a soft, layered wall that feels both elegant and naturally imperfect.

